Home Assistant | honeycomb-menu

Greetings all! In this post, I’m exploring a really useful card I’ve been experimenting with lately called 'honeycomb-menu'.
I originally installed it through HACS some time ago, but initially had trouble getting it to work properly. After revisiting it and doing a bit of trial and error, I finally got it running smoothly—and I’ve been using it more often since to create neat pop-up menu options.
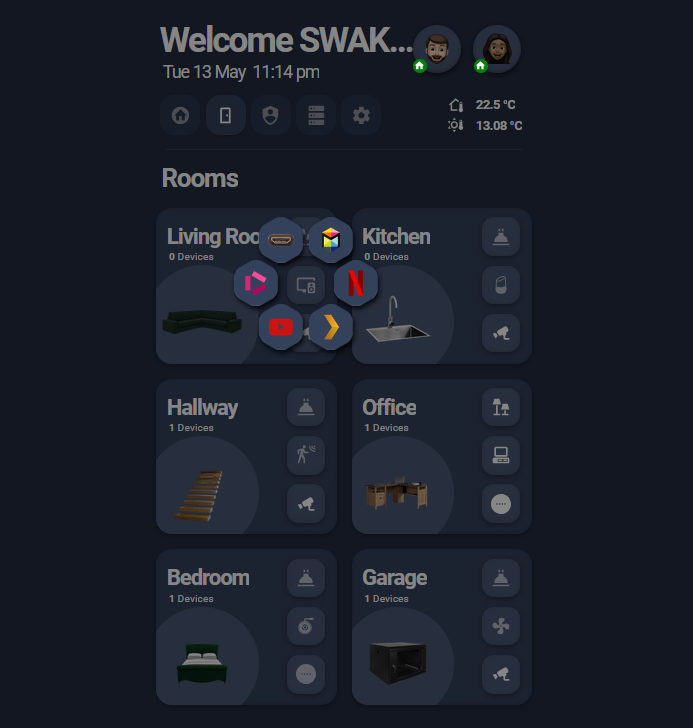
In the example above, the honeycomb-menu is used to let you choose which source or app to launch on the Living Room TV. Once an option is selected, the menu closes automatically.
Once you've installed it via HACS, setting it up is relatively straightforward. Anywhere you can define an action—such as tap_action or hold_action—you can integrate the honeycomb menu by including the following configuration...
  tap_action:
    action: fire-dom-event
    honeycomb_menu:
      autoclose: true
      buttons:
        ....
Beneath the buttons: section is where you define each button card. In most cases, I use custom:button-card. In the example below, I've created a custom:button-card that simply displays an image and includes a tap_action to trigger a call-service.
    ...
      buttons:
        - show_entity_picture: true
          entity_picture: /local/hdmi4.png
          color_type: card
          color: transparent
          styles:
            card:
              - box-shadow: none
              - border: none
            icon:
              - width: 38px
              - padding: 10px
              - background-color: rgba(53, 66, 92, 1)
              - border-radius: 50px
              - box-shadow: >-
                  0 2px 4px rgba(0, 0, 0, 0.15), inset 0 -1px 1px rgba(255,
                  255, 255, 0.05)
          tap_action:
            action: call-service
            service: media_player.select_source
            target:
              entity_id: media_player.samsung
            data:
              source: 2| HDMI
    ...
One thing to note is that I’ve designed this button with a transparent background on the card itself, applying the background color, border radius, and box shadow directly to the icon. I also tend to use .PNG files for images, logos, and icons, since they support transparent backgrounds and blend more cleanly with the design. Here’s a useful website I often use to remove image backgrounds and convert them to .PNG format.
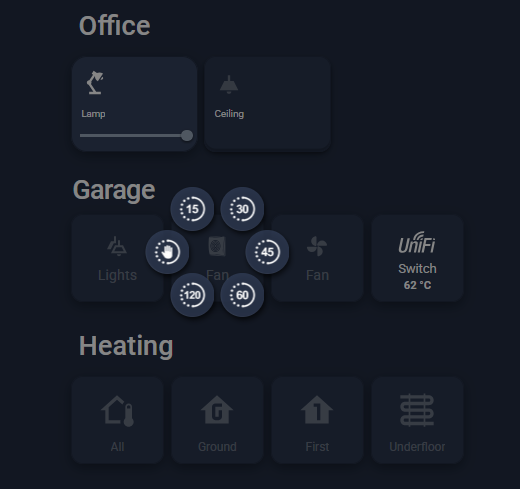
Here’s one last example to share. In the card below, I’ve used the honeycomb-menu to present a selection of time options for controlling a fan in the garage. Each button corresponds to a specific delay, and selecting one will start the fan based on the chosen duration.